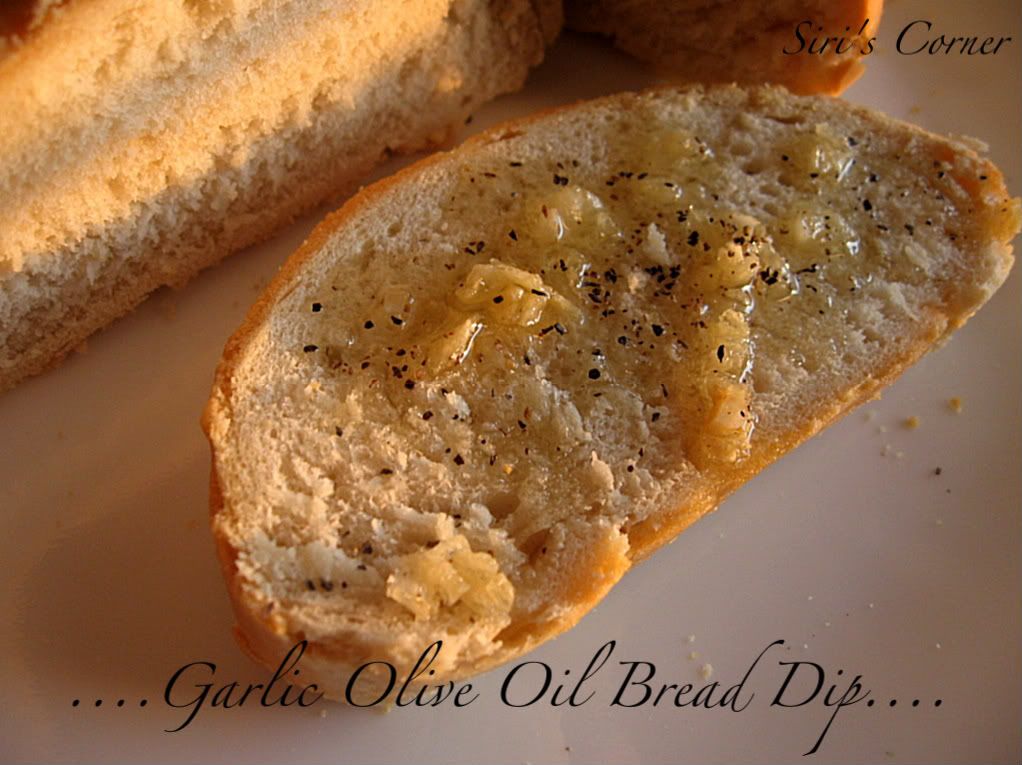
I very vividly remember my first encounter with a Focaccia with some herbs & garlic. Absolutely delicious. Since then, I have baked this versatile bread with countless number of toppings. Focaccia starts with a simple dough, much easier than most of the bread doughs.
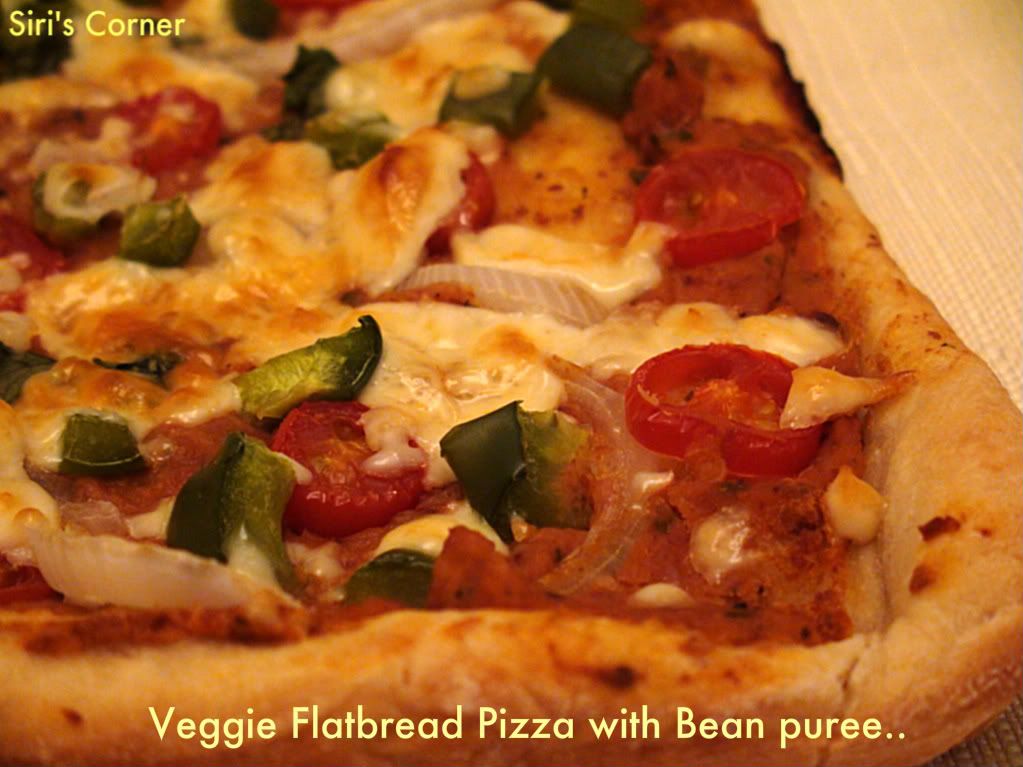
....Just place it in an oiled pan, press the dough out to the edges, dimple it with finger tips, flavor with any fragrant toppings, let it rise a bit and bake it. Done. :). To serve them as a simple treat to children, shape them into small focacce or focacine (little discs made just to fit the palm of our hands). When eaten warm, focaccia can be a one-dish meal, a snack or perfect picnic food.
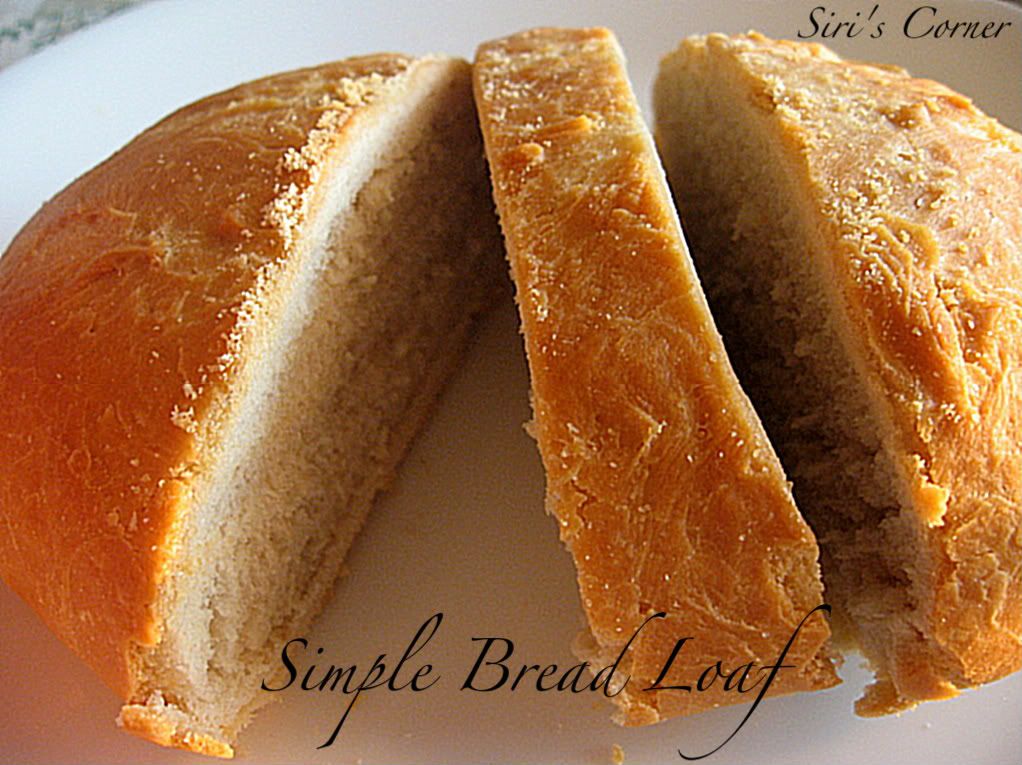
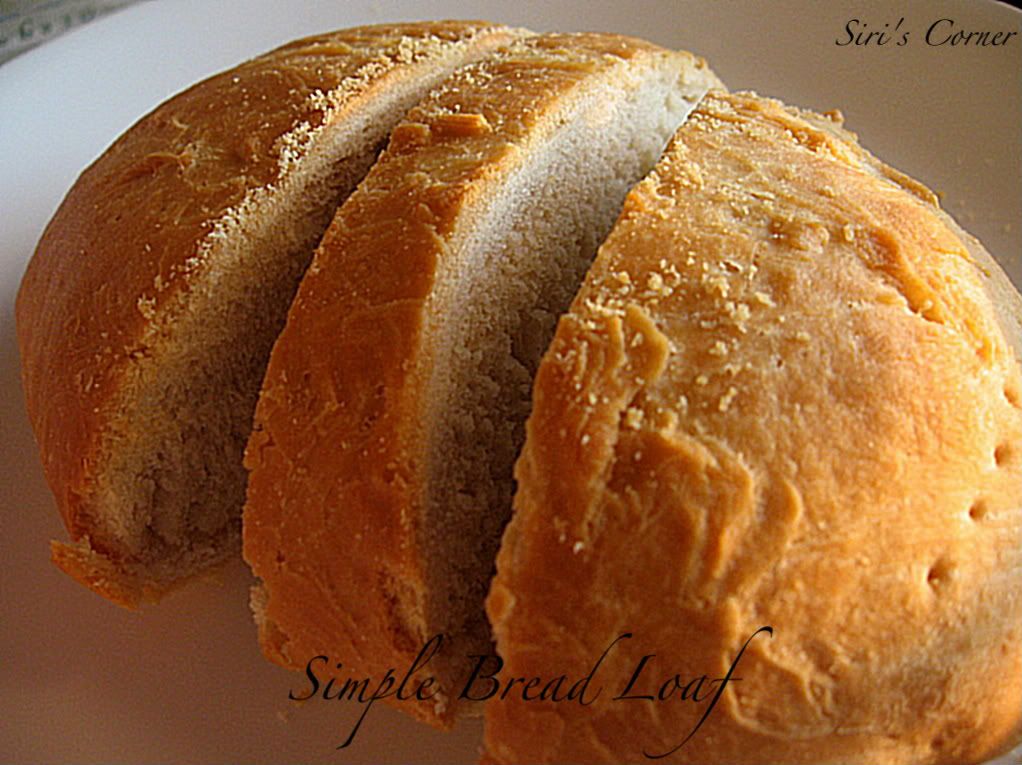
Slit the bread and fill with onion, mushroom, clam or even creamy cheese fillings. Possibilities are just endless. The twist in this recipe is that I have used my
8 inch cast iron skillet to make the bread instead of the normal baking pan. The result is just spectacular as the little skillet is my new love these days :). I hope, I have inspired you guys to bake some fresh Focaccia bread for dinner tonight :D.


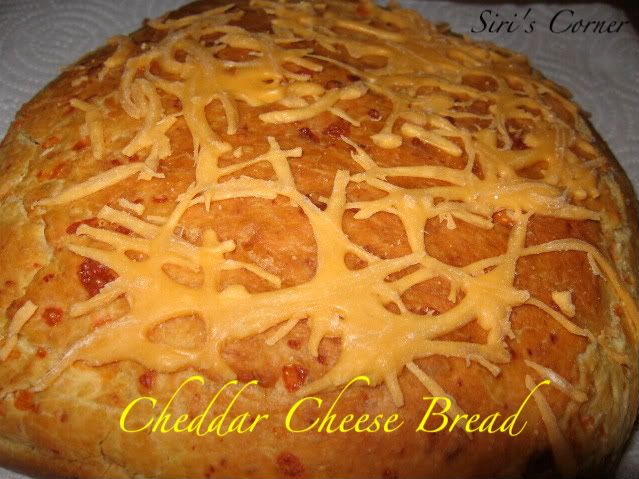
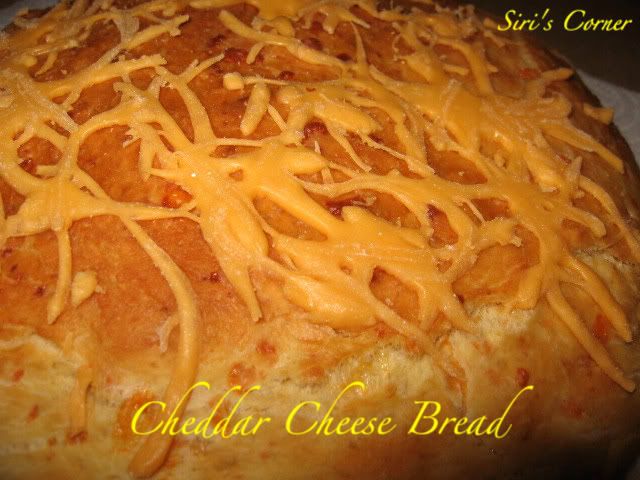
 Cheddar Cheese Bread